Post by greenjeep on Jan 28, 2008 18:31:18 GMT -5
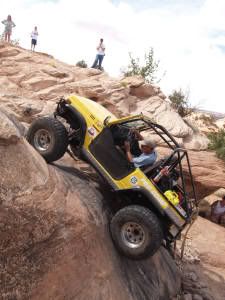
I've lost track of how many times I have "rebuilt" the CJ, but hopefully this will be one of the last times!
I love the way I have the CJ set up, the only complaints I had was that the brakes, well frankly, suck; the gearing could be a little lower; and of course, a fuel injection kit would be nice too. Originally I had thought about putting in a hydro-boost brake system, and disc breaking my rear TJ 44, as well as putting in a 4 to 1 in my Dana 300. I figured the doing all of this would cost me around $2000 for parts only.
So about a month or so ago, I found a killer deal on a Chevy Dana 60 and 14 bolt. The 14 bolt had a brand-new full Detroit and 5.13 gears in it about 10 miles ago. The guy was going to build up his pickup, and then decided he didn't have the time or money, so he decided to part it out. So I picked up this set for $1000. My next issue was, being able to get a set of wheels to use on the new axles. It wasn't going to be easy, cheap, or perhaps even possible to continue using my 5 on 5 1/2, 15 inch rims. I know it's very difficult to fit a 15 inch rim over 1 ton brakes, and add that to the fact of trying to convert the 14 bolt to a 5 on 5 1/2 would have involved new axle shafts as well as new brakes, I decided that it would probably just be easier to get some new rims.
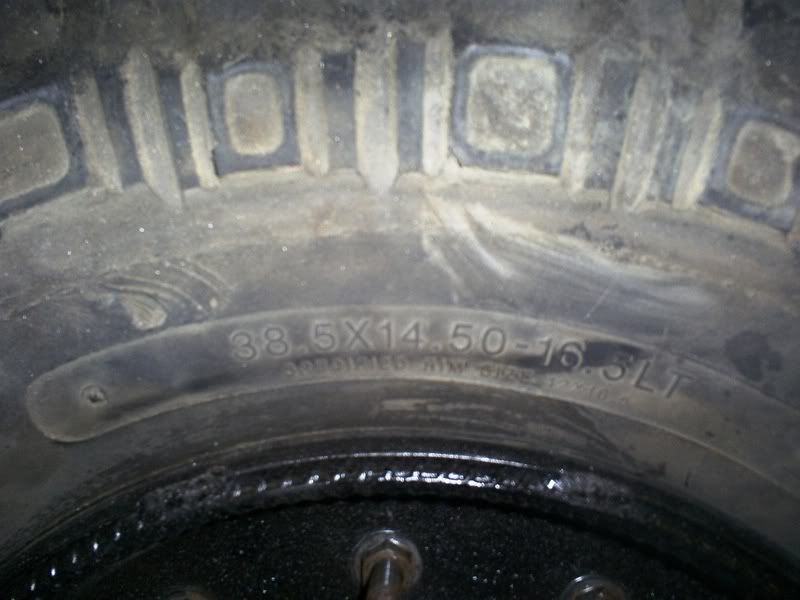
I have really become used to my beadlocks, I like the way they look, as well as their functionality. So I really wanted another set of beadlocks, but with the added expense I was already facing, $1200 or so for new beadlocks just wasn't feasible. So I began looking at H1 double beadlock wheels. They have the lug pattern that I would need, they're beadlocks, they're readily available, and fairly inexpensive. My decision was finally made for me when I found a set of 12 bolt H1 wheels for $200, and another guy was selling a set of 38.50" SXs for a 16.5" rim, which is what the H1 rim is, for an additional $200. I also came across a killer deal on a used TBI fuel injection kit for the brand-new 401 I just installed. So in one foul swoop, I hopefully will be fixing my gearing, breaking, and carburetor issues. I'm stoked!
So I'm set to go, I have my new axles, tires, wheels, and fuel injection kit. Now comes the installation.
Of course nothing ever goes as quick or as easy as you think it would, and right off the bat I realize that I'm going to run into clearance issues with the H1 wheels because of their 7" of back spacing. To remedy this I'll need to run offset, high steer her arms, as well as build a new tire rod and drag link. Things I would like to do anyway, but just an added expense in the short run.
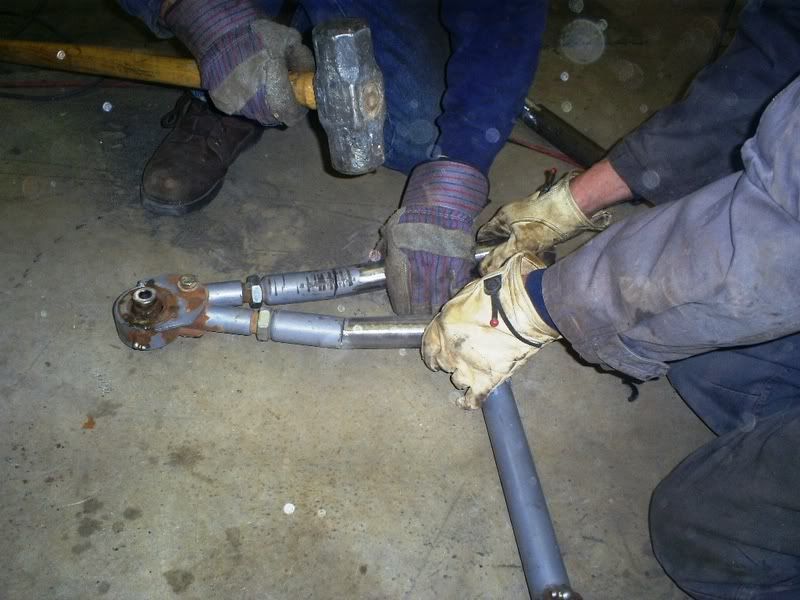
Jeff Stevens is kind enough to do the installation for me in his heated garage. We decide to start on the rear end as we waited for the new high steer arms to get here, and in not too long my old Dana 44 is out, the brackets are stripped off it, and it's sitting dejectedly in my side yard. We decided to reuse the Rubicon Express three link truss I had been running. So we weld on the old upper control our brackets and with only a few adaptations to the bracket which bolts to the differential cover, we have that part done. So we sling the axle under the Jeep and begin to mock up the control arms. We are trying to gain a little extra wheelbase, but we find that my current upper control arms don't have enough adjustability in them. So we decide to lengthen them by about 3 inches in order to give us the length, and pinion angle we need. While were at it we also decide to put a slight bend in the arms to give the flex joint a better working angle. Once we finish up with that we will be able to get the lower control arm brackets, lower coil buckets, and shock mounts permanently mounted.
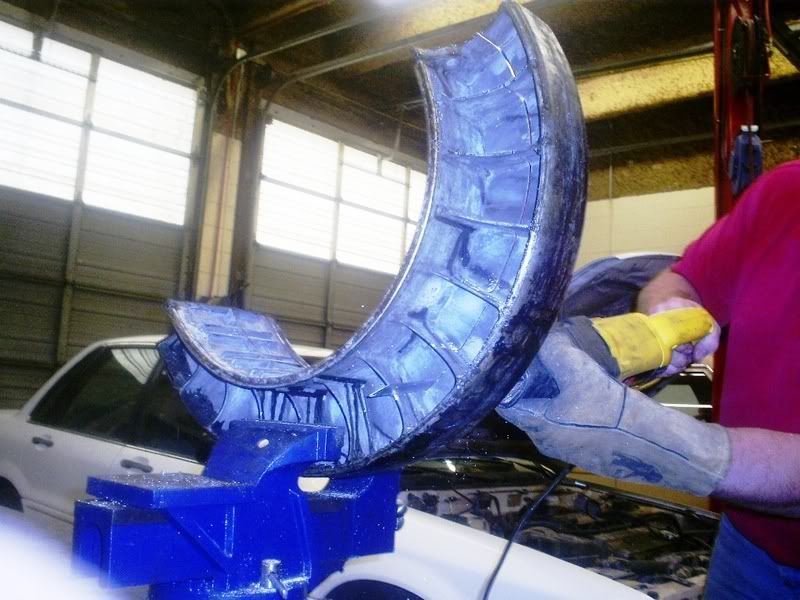
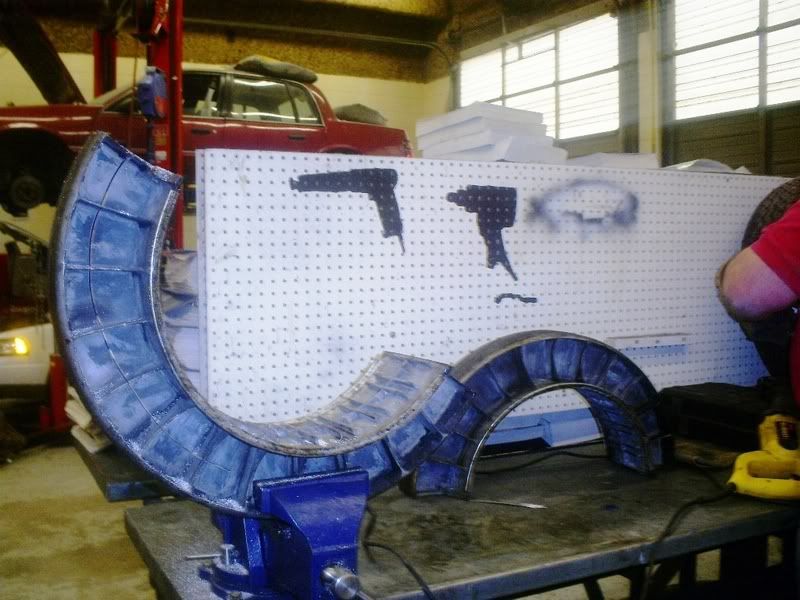
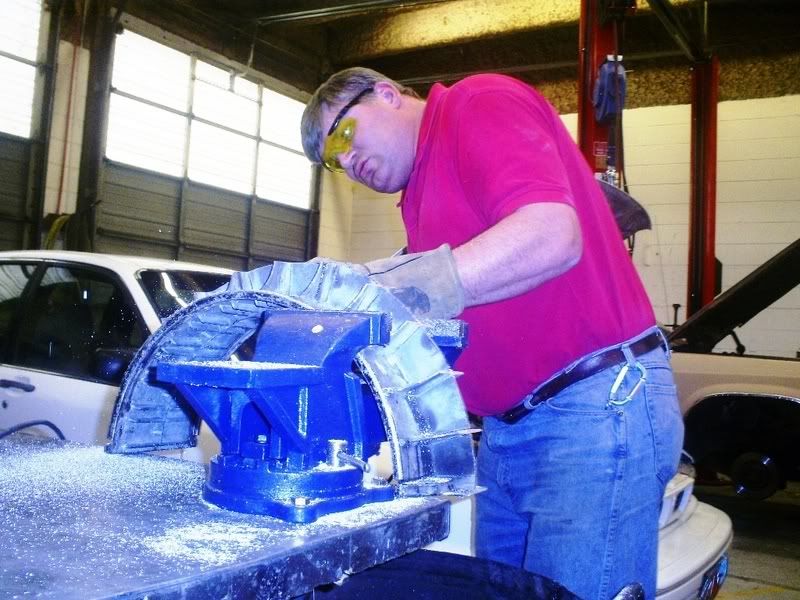
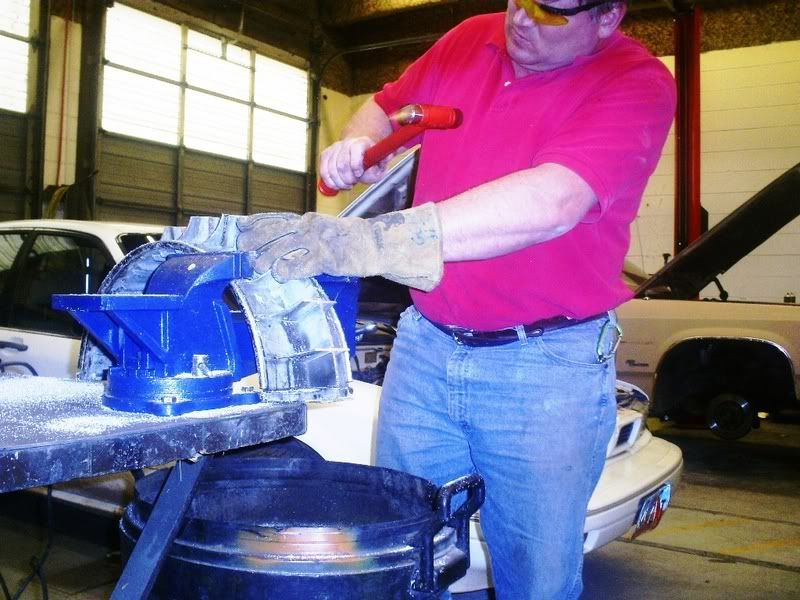
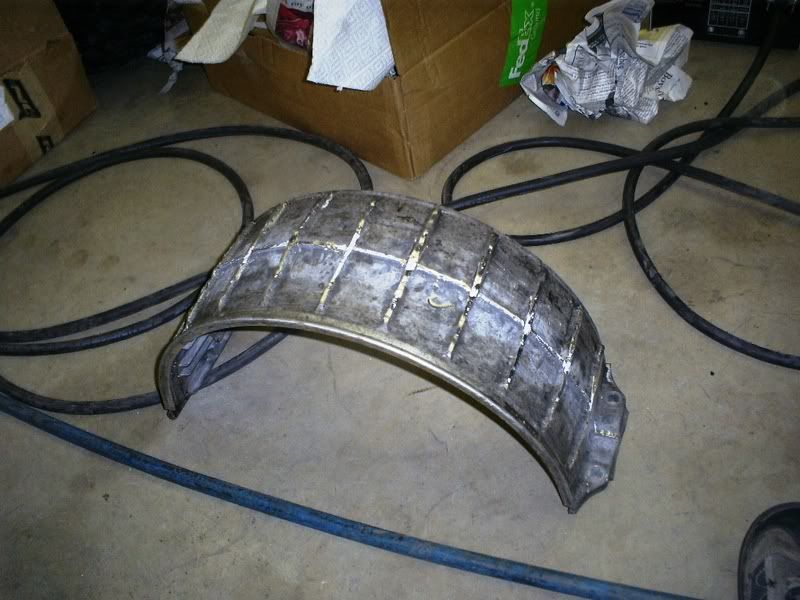
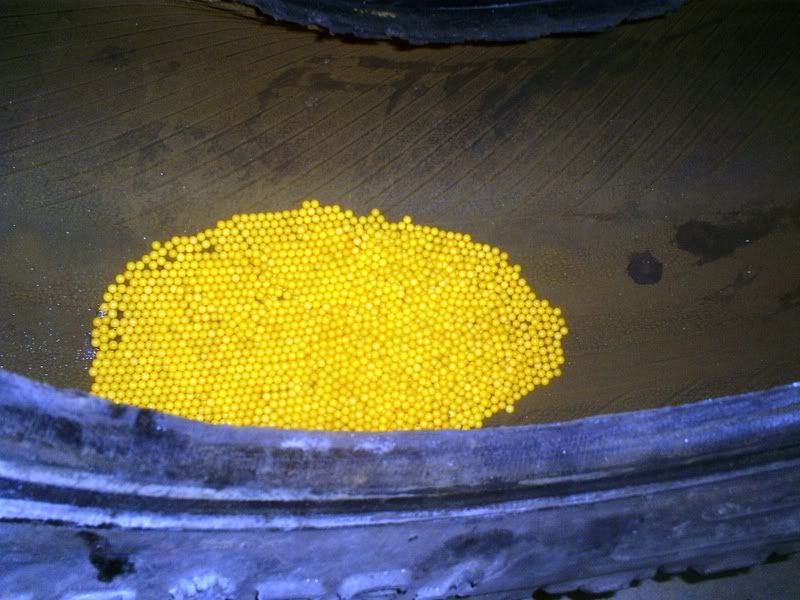
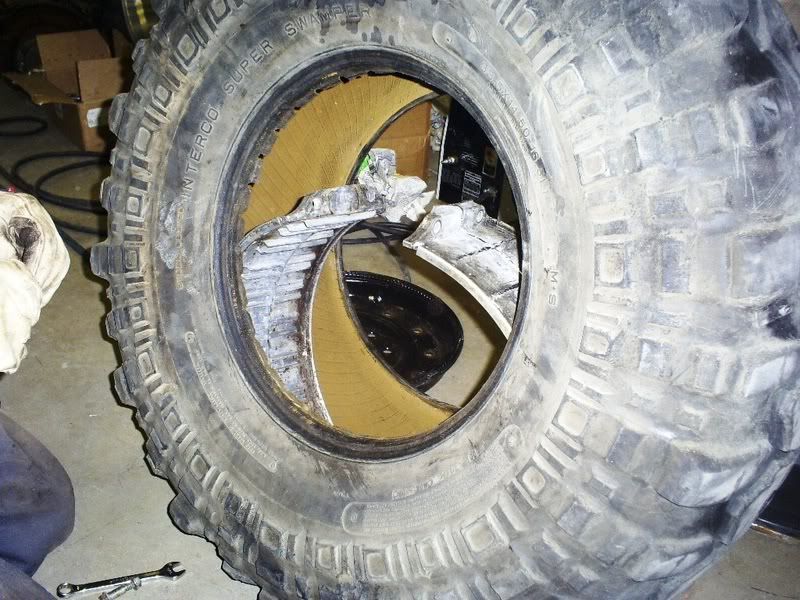
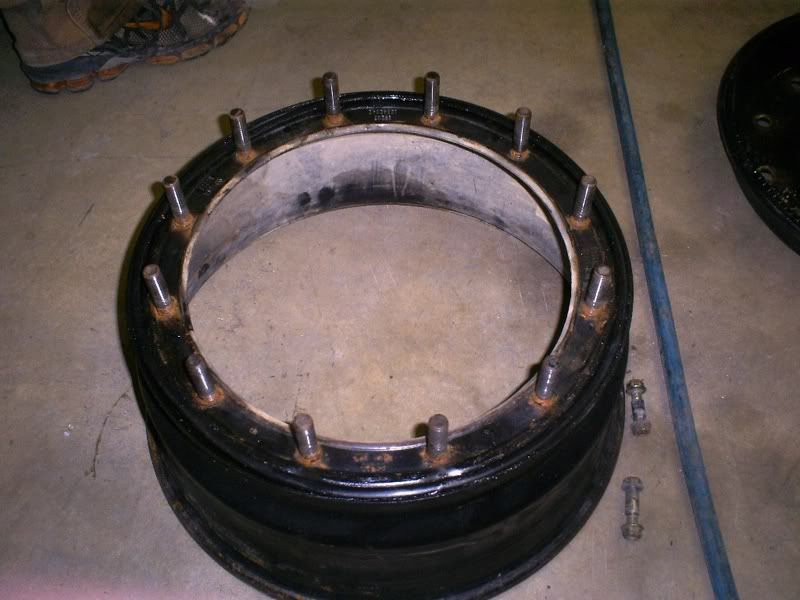
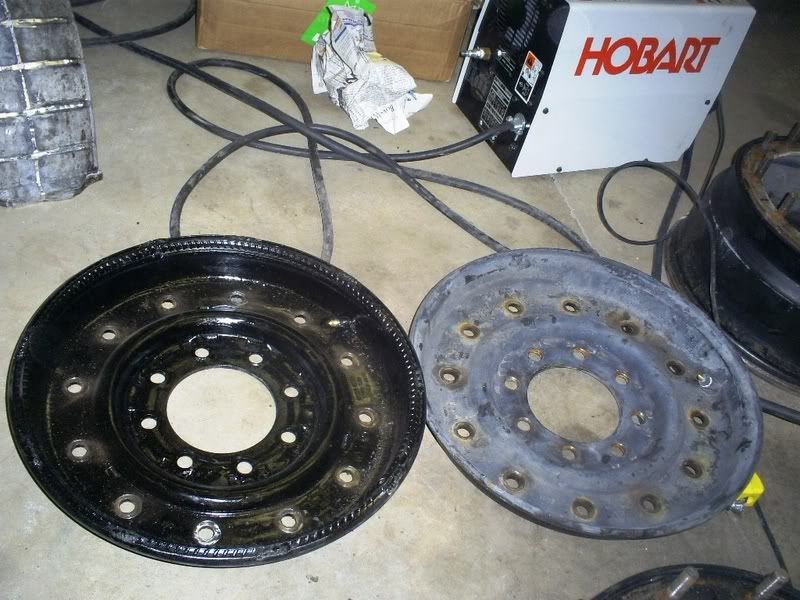
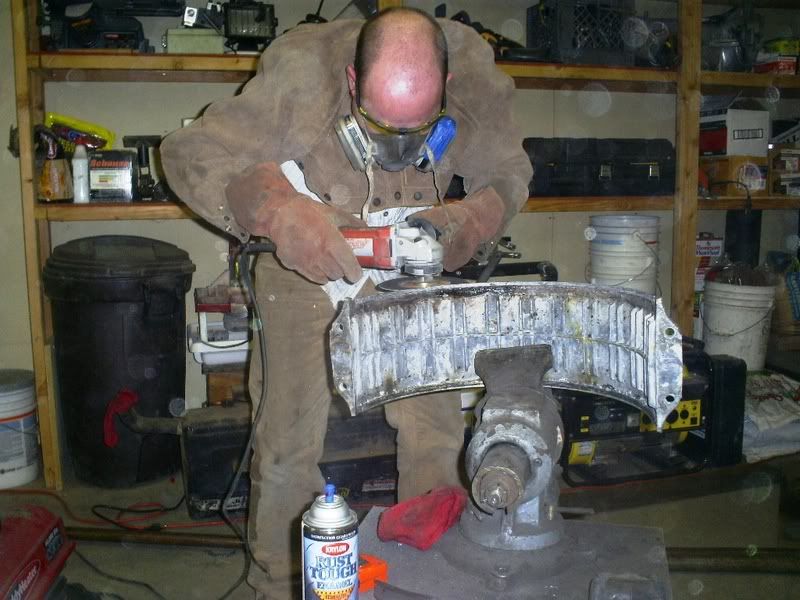
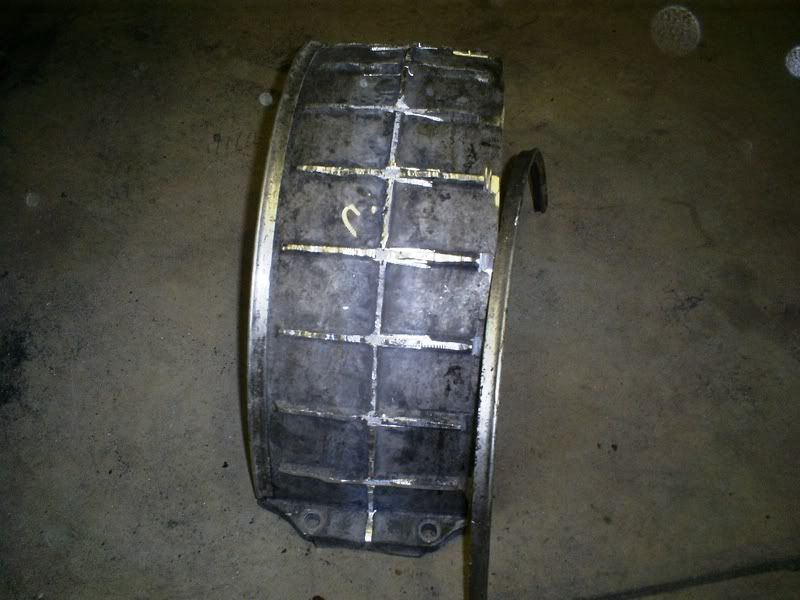
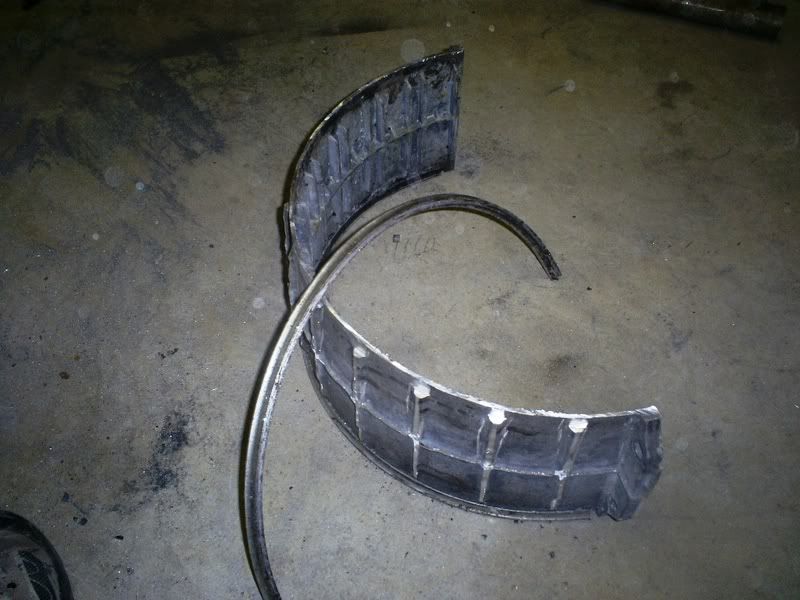
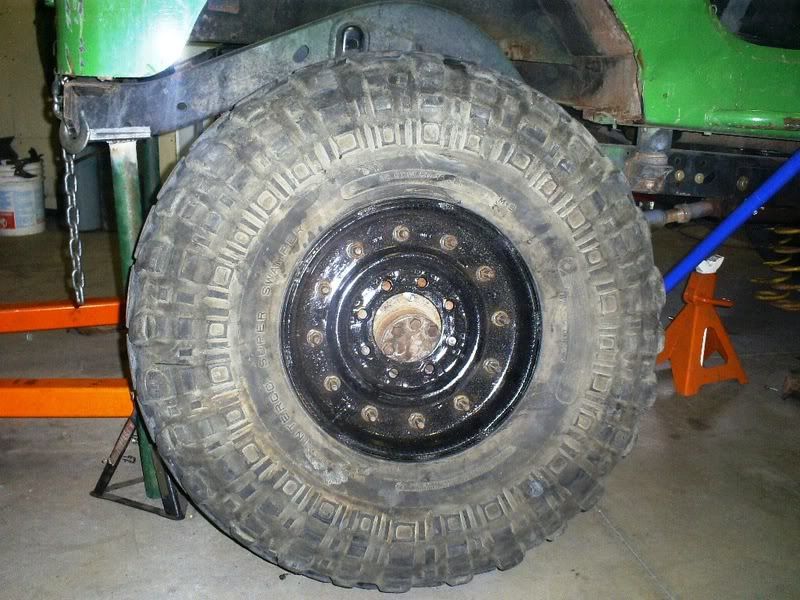
Since the H1 wheels I'm using are from a military Humvee, they have the magnesium run flats in them, which to use at low tire pressure can't rip holes in the side wall of tires. So with the help of our schools auto shop teacher, we are able to get the run flats cut off. While Jeff and Jim are working on the rear axle, Ryan and I begin to put together the wheels and tires. After adding 12 ounces of air soft pellets, which hopefully will help balance out my 115ish pound tire and wheel combination, we bolt together the inserts, drop the tire and insert onto the lower half of the wheel, and begin torquing down the top half of the wheel to 115 pounds. Even after fully torquing them down the wheels are still leaking air, so we torque more, until we don't feel comfortable torquing them anymore, and we're still leaking air. I had read somewhere that oftentimes the bias ply tires have a side wall which is too thick to fit in a standard H1 wheel and insert, the insert must be trimmed down about 1/4”. So with a cutoff wheel, we do that. We put everything back together, and lo and behold, everything airs up just fine!
With the above axle work, and 2 tires and wheels mounted, we decide to call it a day.
I know this was long-winded, and you probably didn't care that much, but now you know. So here's the pics, which is what you are really after anyway!
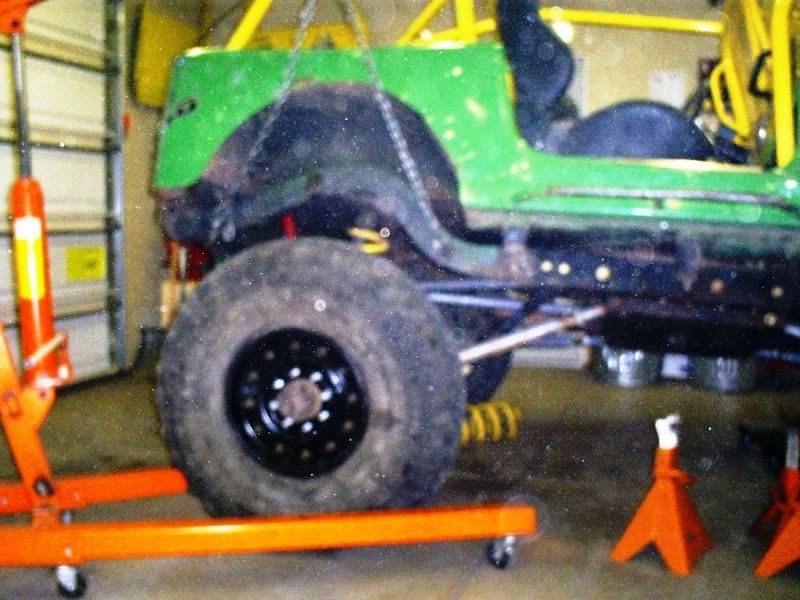
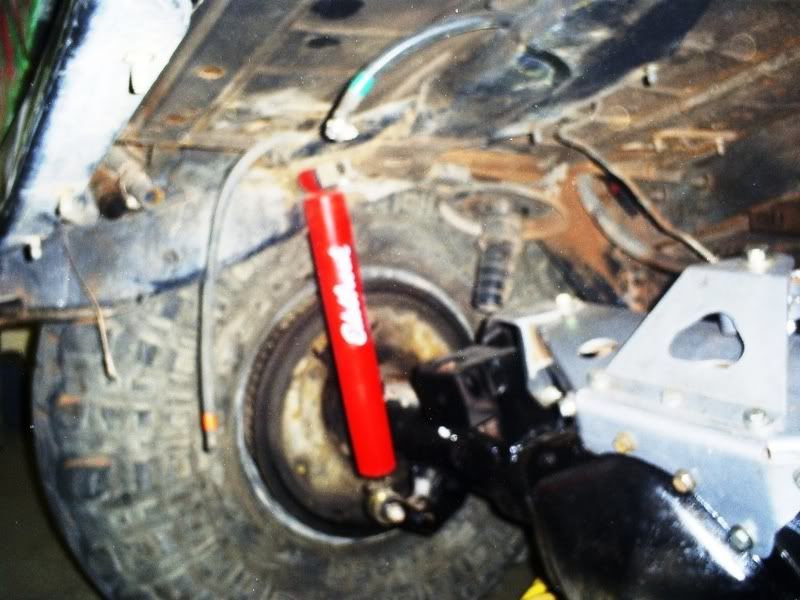
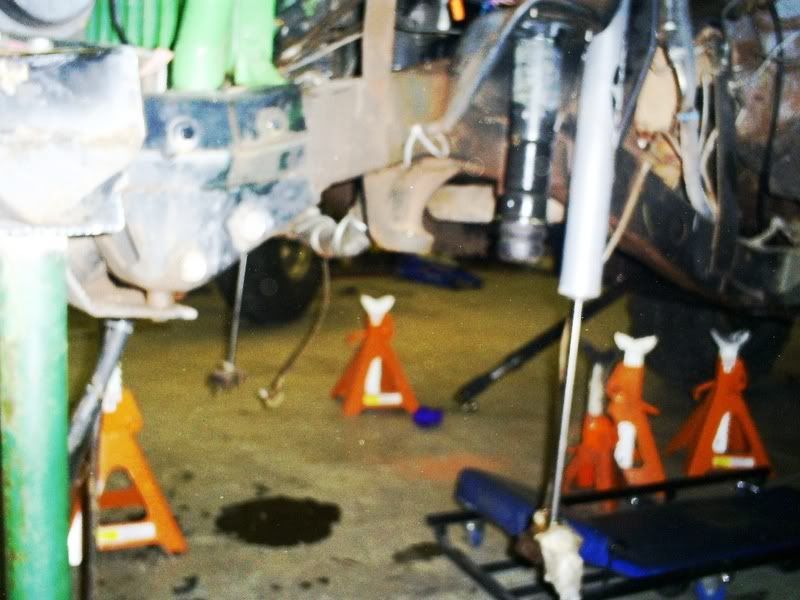
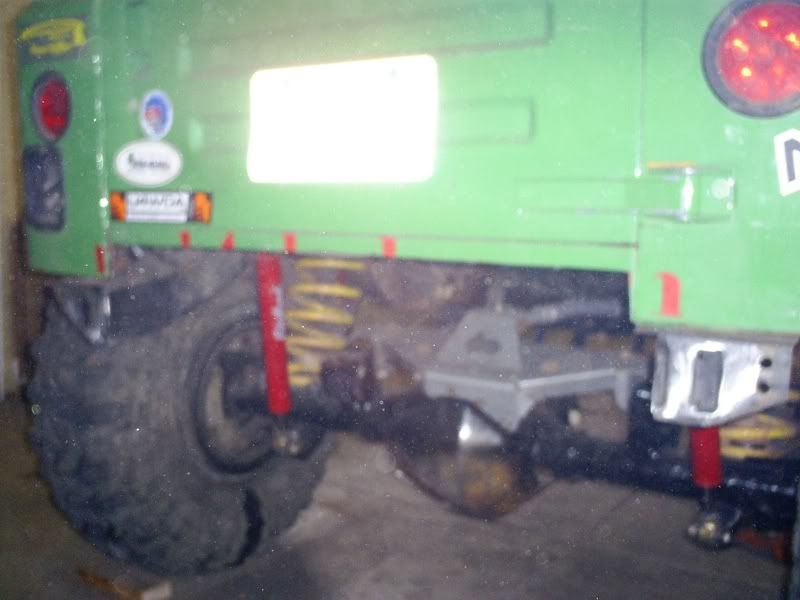
Mocking up the rear axle
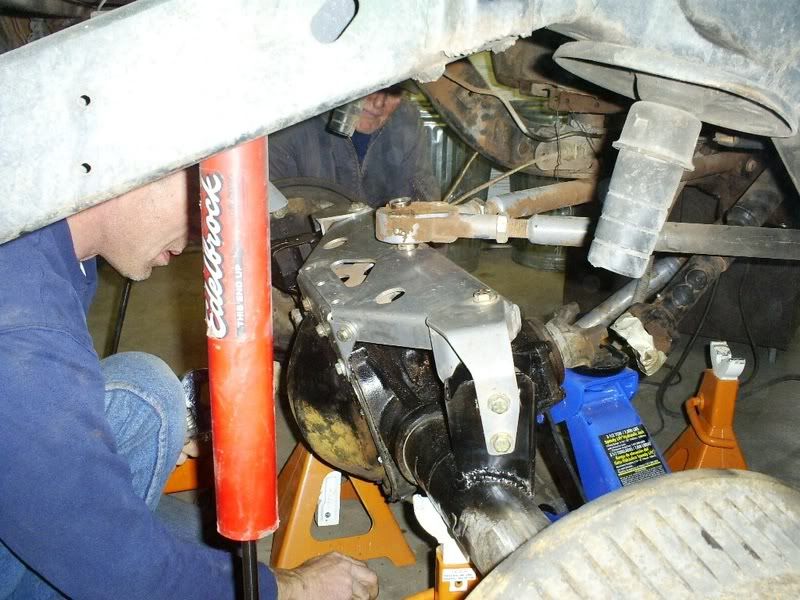
Here you can see how my pinion angle isn't the greatest, my driveshaft right there is at full droop
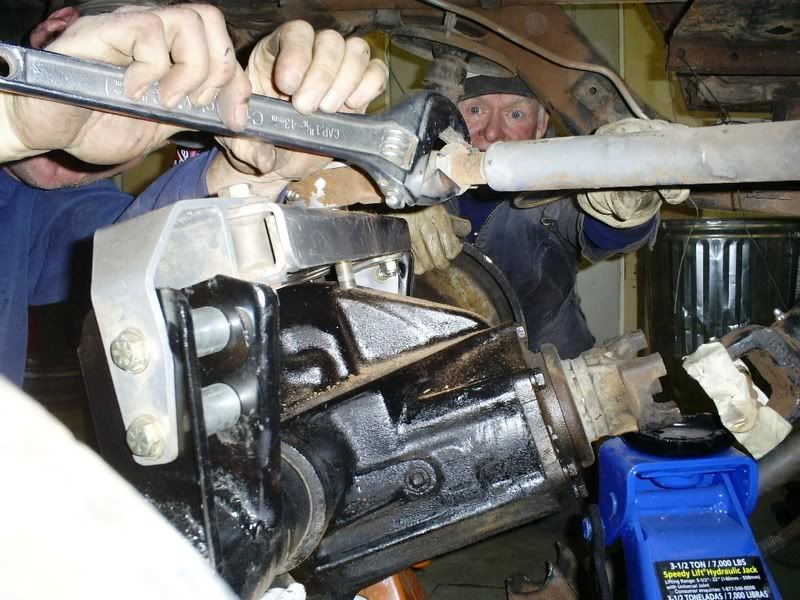
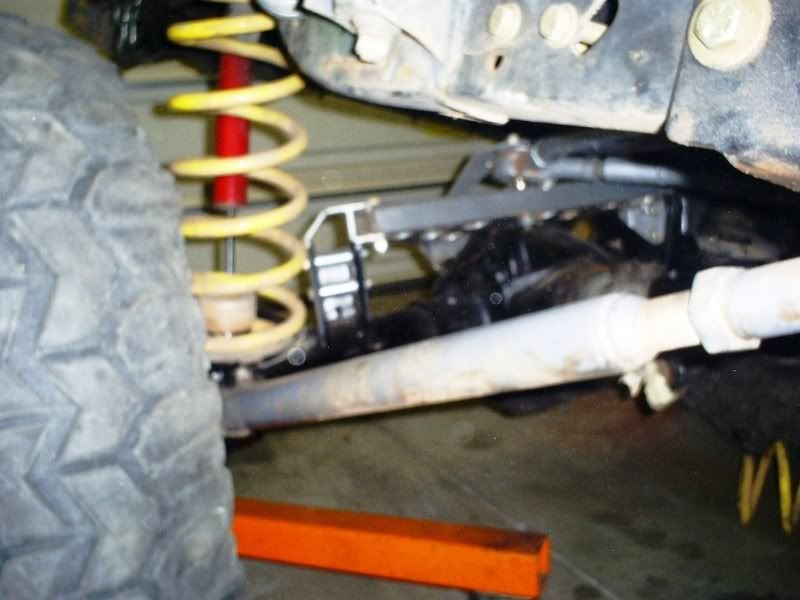
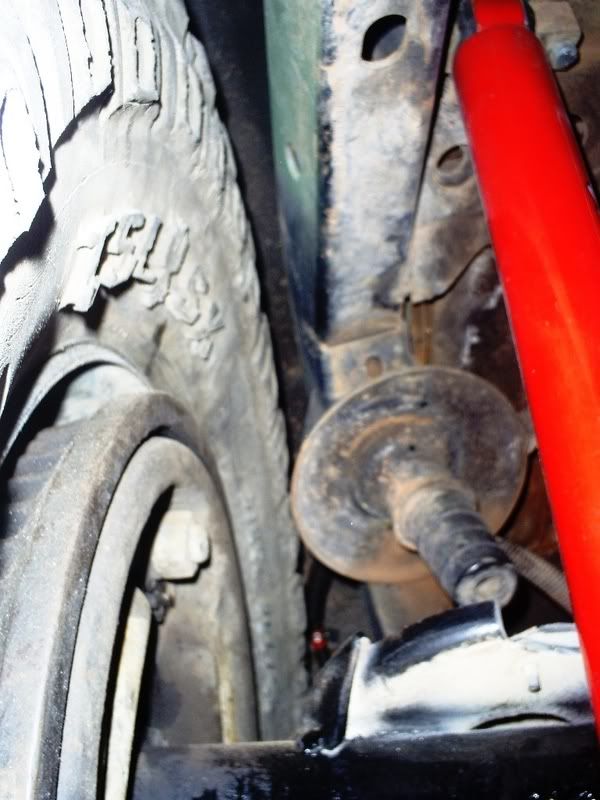
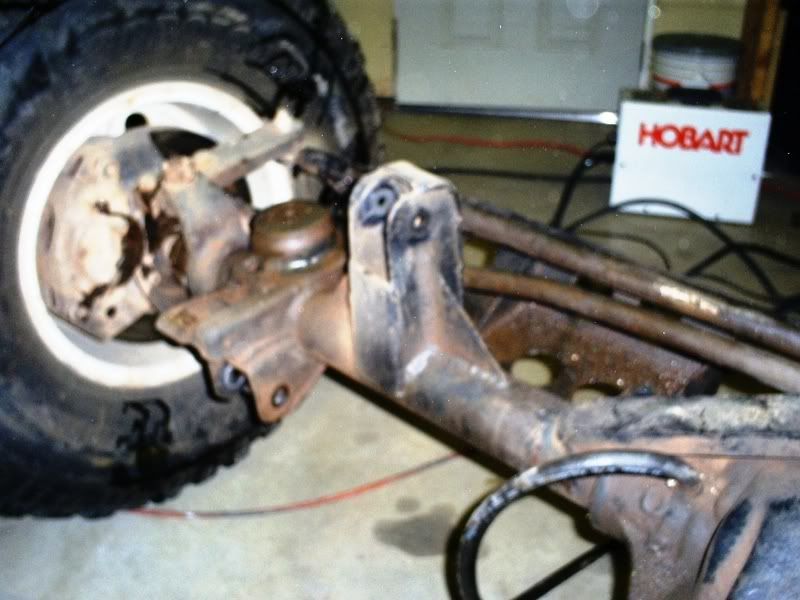
This is about where the axle should be to get the right pinion angle, you can see the hole in the top of the truss where the three link should bolt into, the upper arms need to be about 3 inches longer
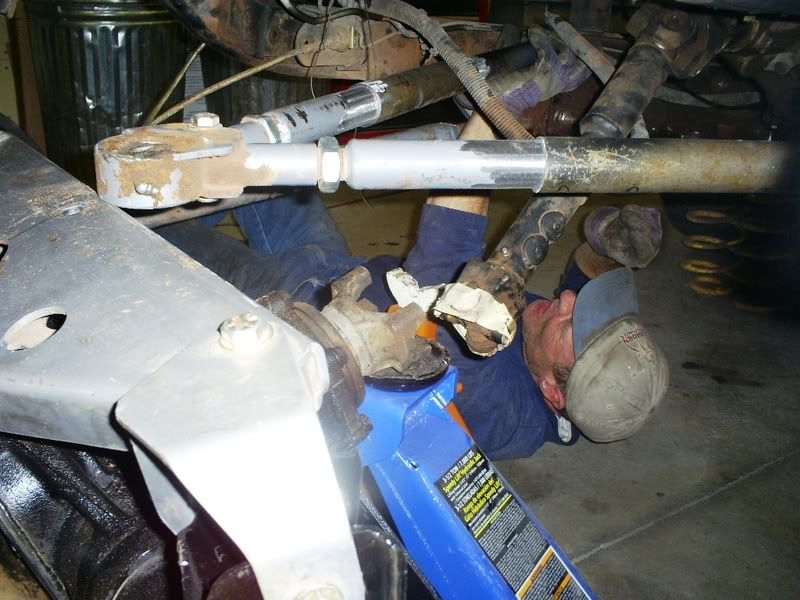
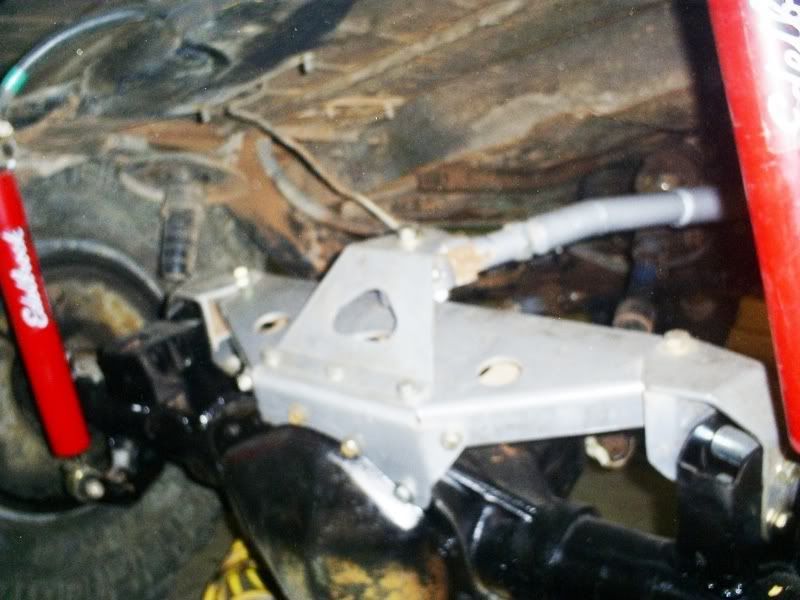
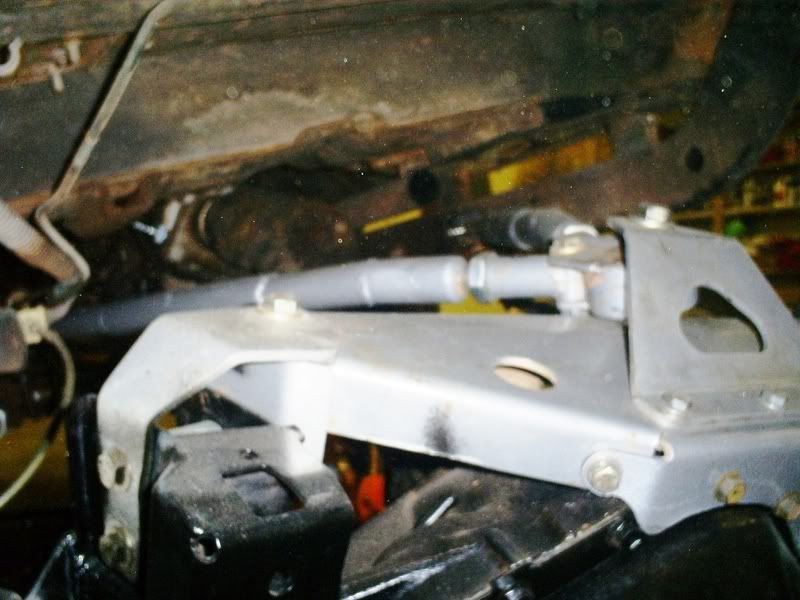
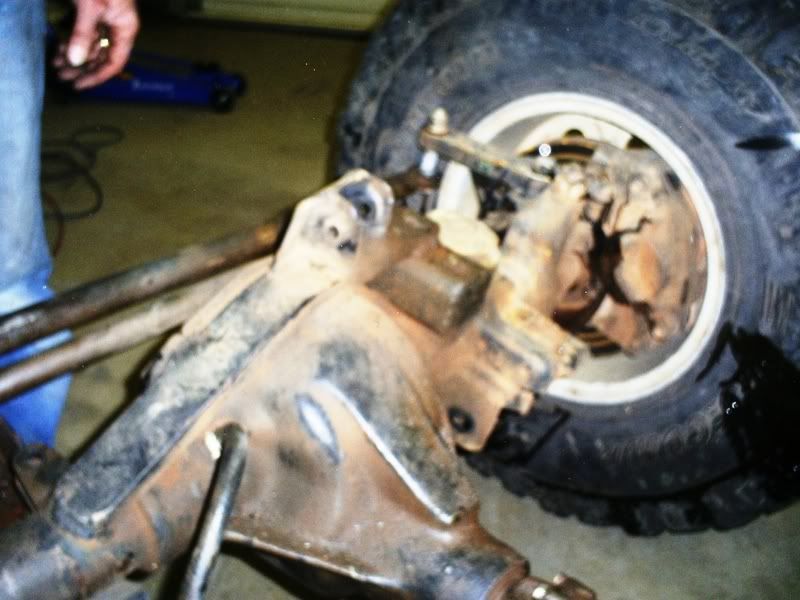
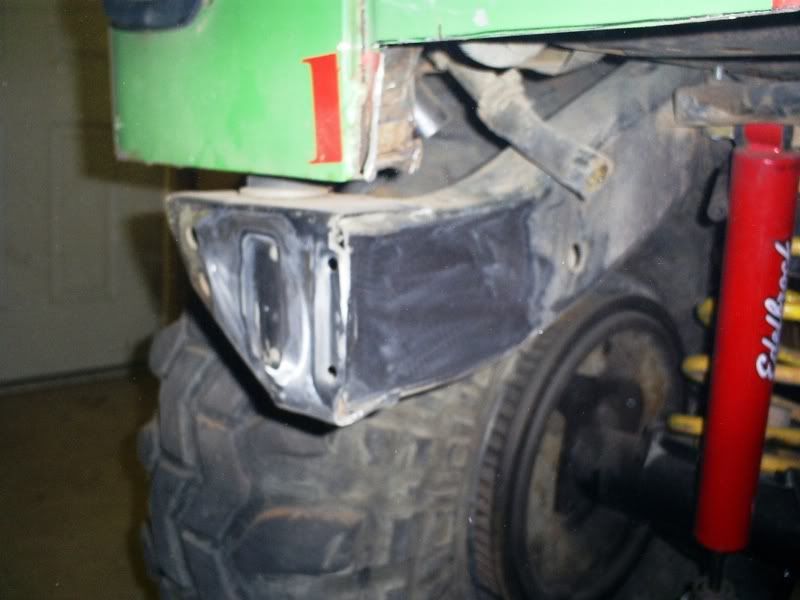
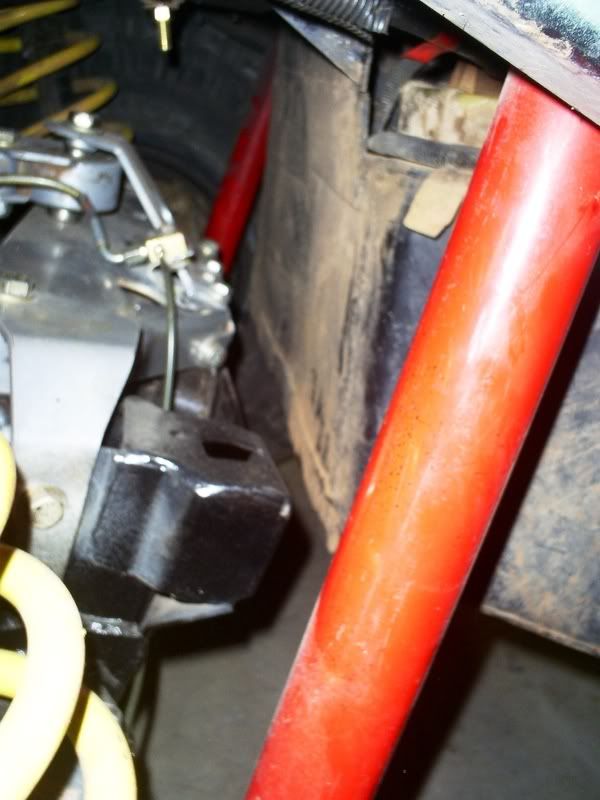
This shows the upper control arm brackets welded in place, and of the diff cover/axle bracket which we had to drill three new holes in to fit the pattern of the 14 bolt
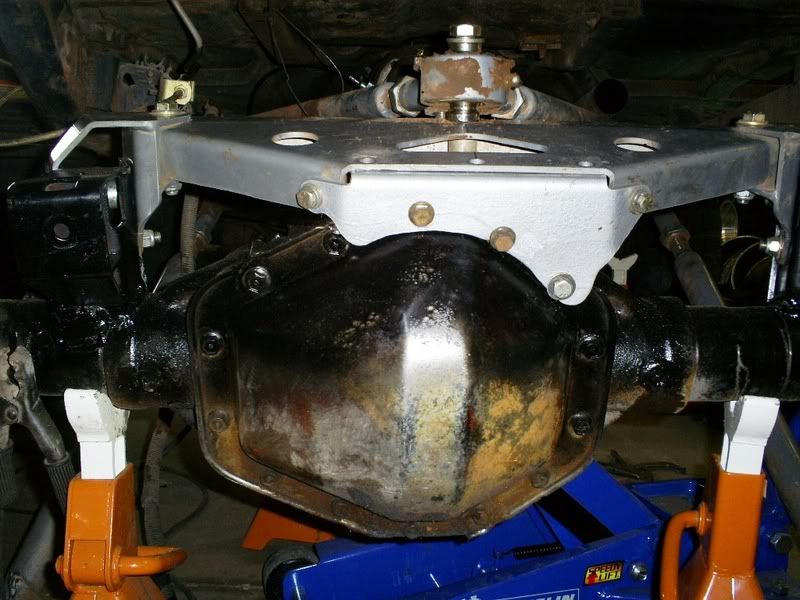
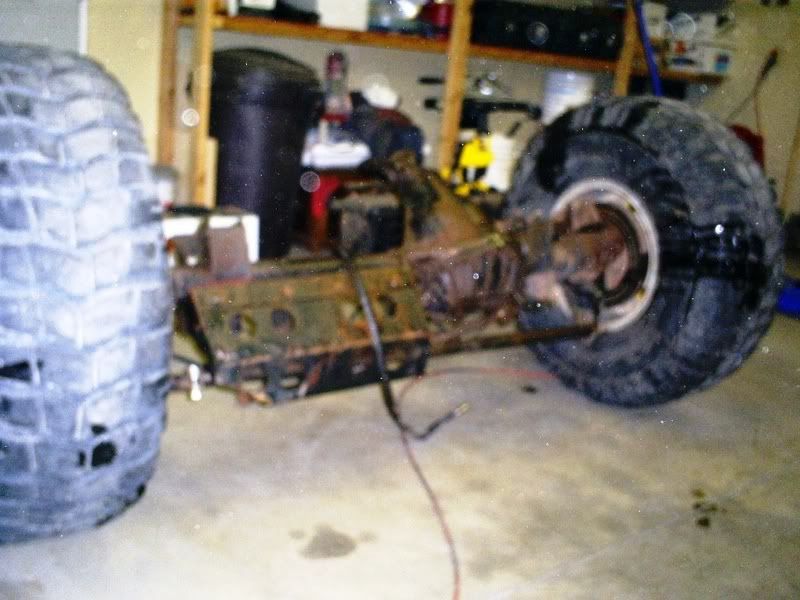
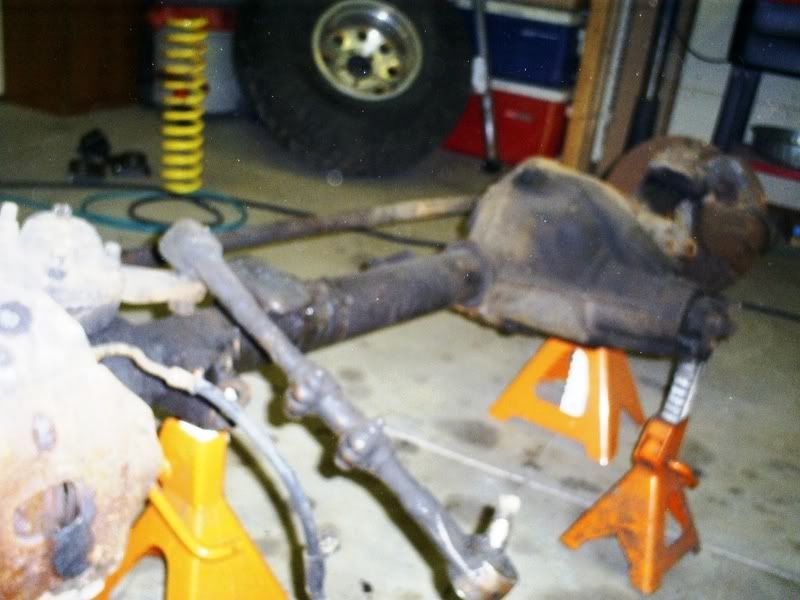
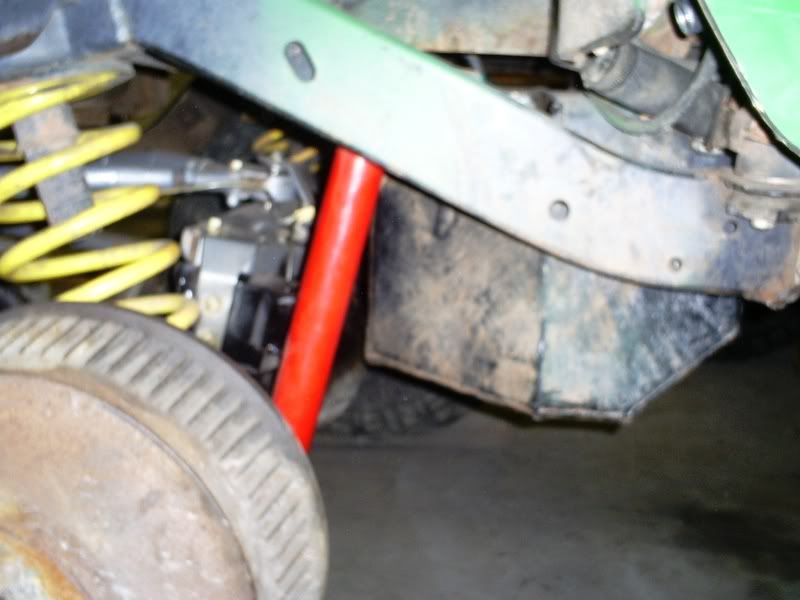
From the front
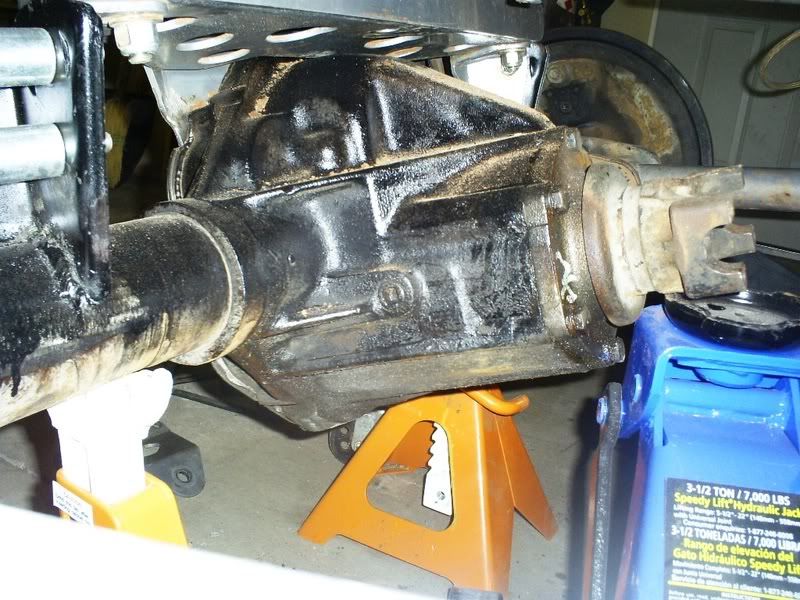
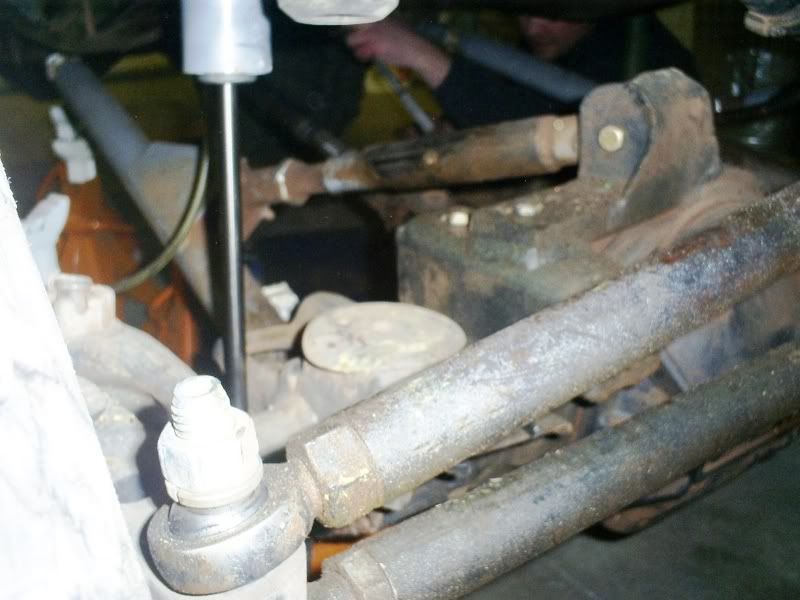
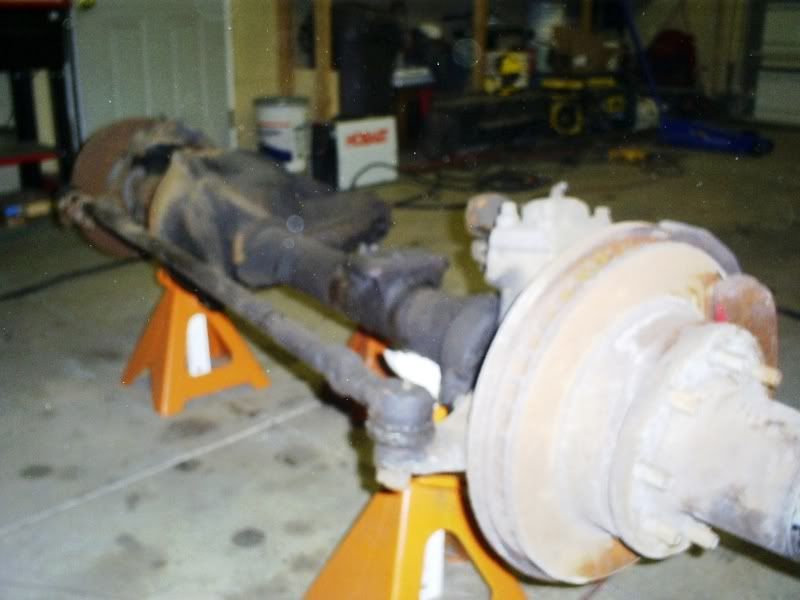
Here you can see the inch or so we shaved off the bottom of the axle, we didn't do a huge shave job like some people, mainly just took off the lip
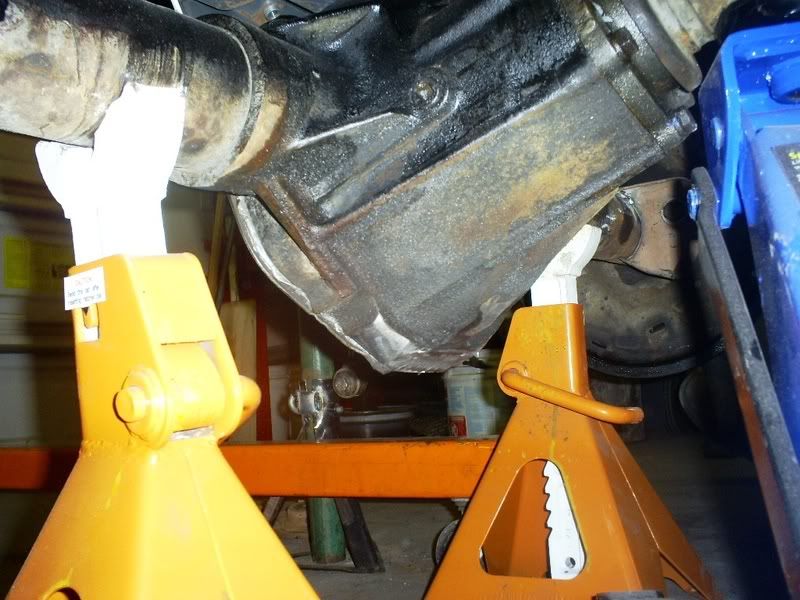
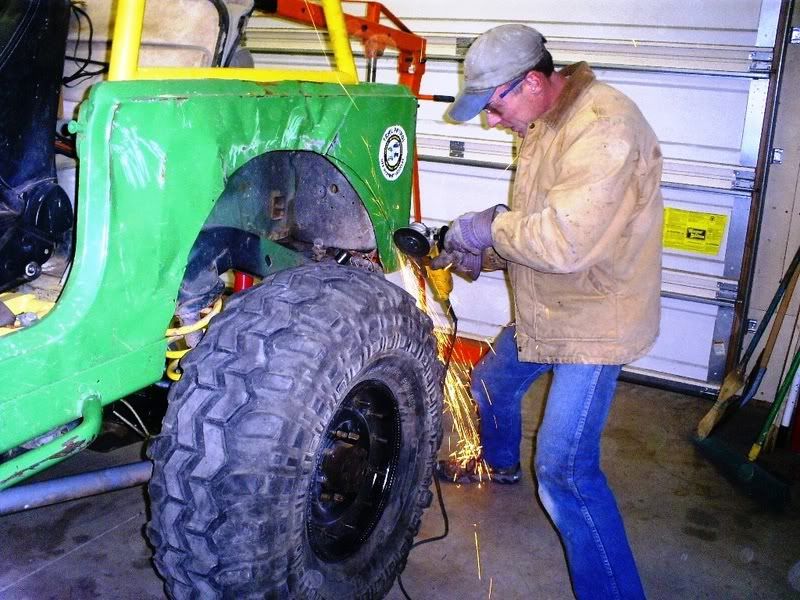
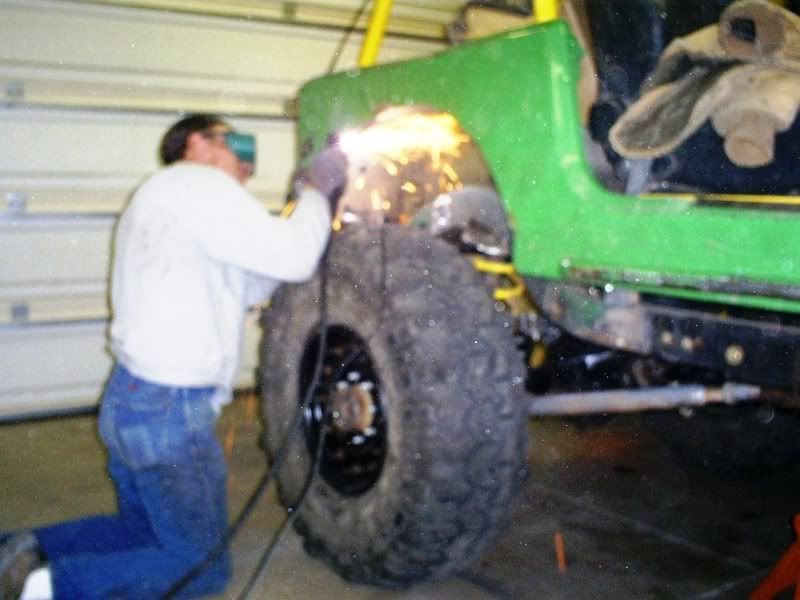
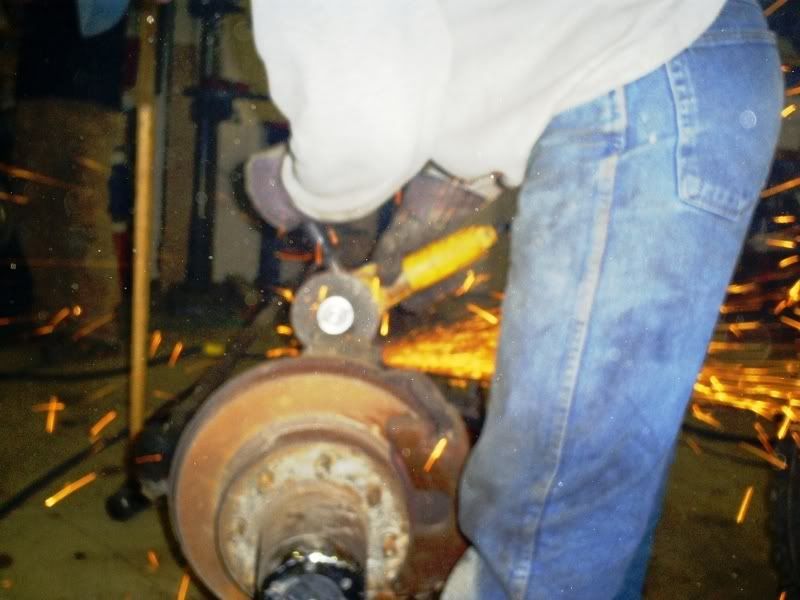
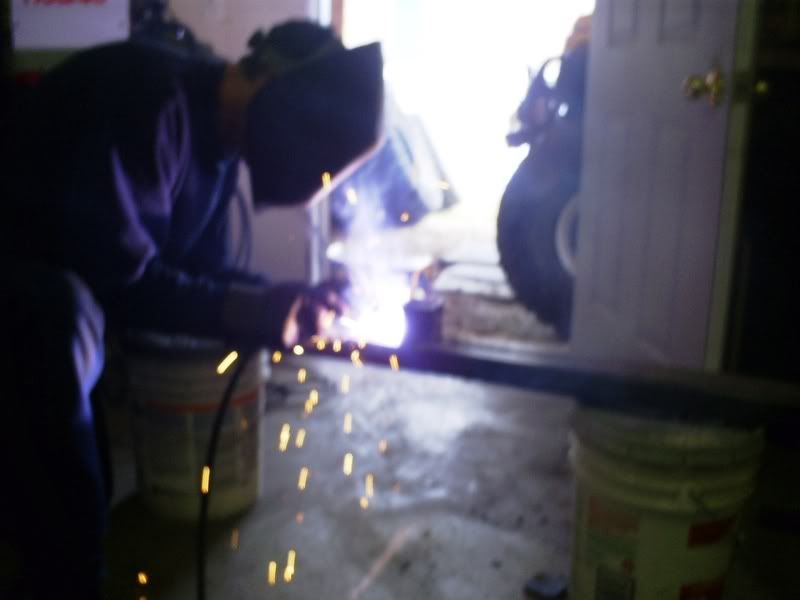
Here's Jeff cutting down the upper control arms, so we can sleeve and lengthen them
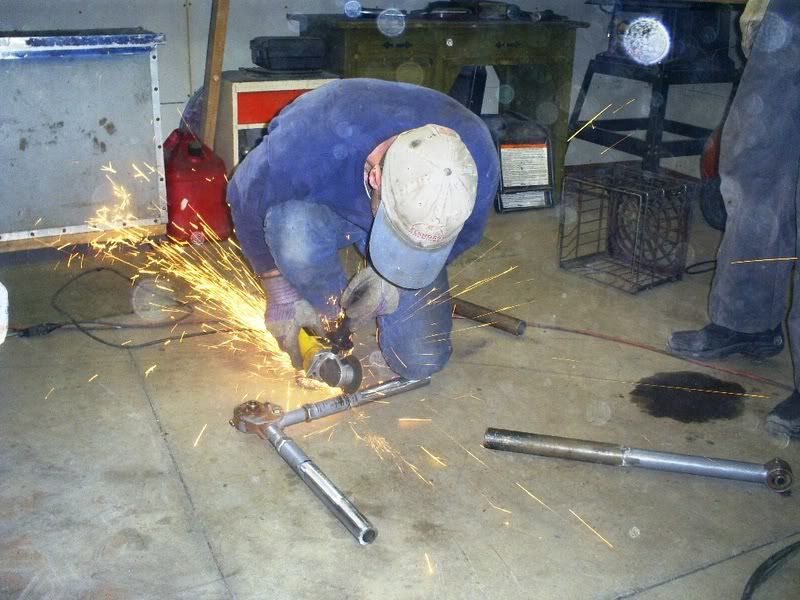
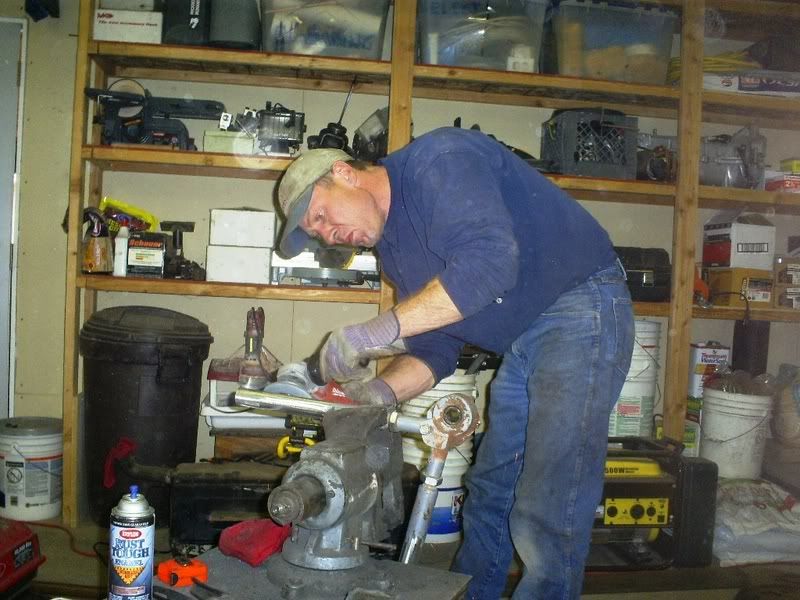
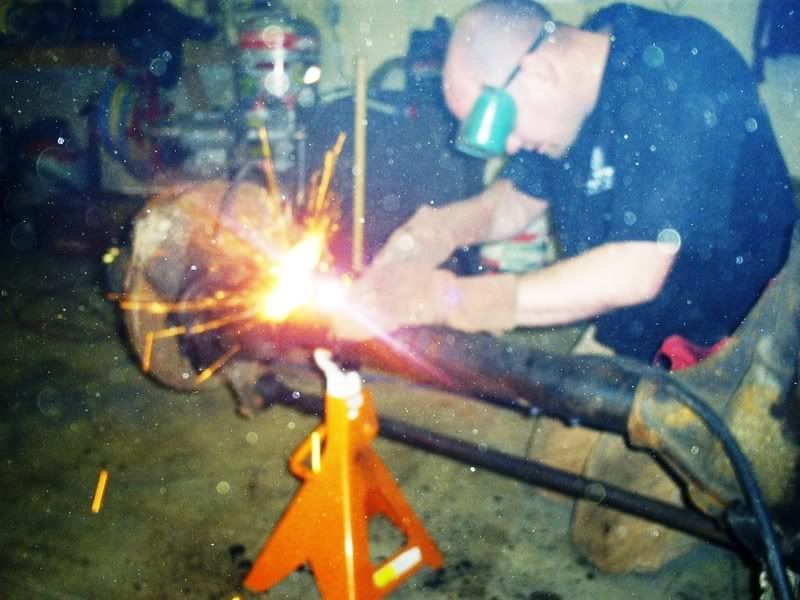
Here they are setting up the bend in the arms to help the flex joint angle
Tire mounting pics when I get more time.
I love the way I have the CJ set up, the only complaints I had was that the brakes, well frankly, suck; the gearing could be a little lower; and of course, a fuel injection kit would be nice too. Originally I had thought about putting in a hydro-boost brake system, and disc breaking my rear TJ 44, as well as putting in a 4 to 1 in my Dana 300. I figured the doing all of this would cost me around $2000 for parts only.
So about a month or so ago, I found a killer deal on a Chevy Dana 60 and 14 bolt. The 14 bolt had a brand-new full Detroit and 5.13 gears in it about 10 miles ago. The guy was going to build up his pickup, and then decided he didn't have the time or money, so he decided to part it out. So I picked up this set for $1000. My next issue was, being able to get a set of wheels to use on the new axles. It wasn't going to be easy, cheap, or perhaps even possible to continue using my 5 on 5 1/2, 15 inch rims. I know it's very difficult to fit a 15 inch rim over 1 ton brakes, and add that to the fact of trying to convert the 14 bolt to a 5 on 5 1/2 would have involved new axle shafts as well as new brakes, I decided that it would probably just be easier to get some new rims.
I have really become used to my beadlocks, I like the way they look, as well as their functionality. So I really wanted another set of beadlocks, but with the added expense I was already facing, $1200 or so for new beadlocks just wasn't feasible. So I began looking at H1 double beadlock wheels. They have the lug pattern that I would need, they're beadlocks, they're readily available, and fairly inexpensive. My decision was finally made for me when I found a set of 12 bolt H1 wheels for $200, and another guy was selling a set of 38.50" SXs for a 16.5" rim, which is what the H1 rim is, for an additional $200. I also came across a killer deal on a used TBI fuel injection kit for the brand-new 401 I just installed. So in one foul swoop, I hopefully will be fixing my gearing, breaking, and carburetor issues. I'm stoked!
So I'm set to go, I have my new axles, tires, wheels, and fuel injection kit. Now comes the installation.
Of course nothing ever goes as quick or as easy as you think it would, and right off the bat I realize that I'm going to run into clearance issues with the H1 wheels because of their 7" of back spacing. To remedy this I'll need to run offset, high steer her arms, as well as build a new tire rod and drag link. Things I would like to do anyway, but just an added expense in the short run.
Jeff Stevens is kind enough to do the installation for me in his heated garage. We decide to start on the rear end as we waited for the new high steer arms to get here, and in not too long my old Dana 44 is out, the brackets are stripped off it, and it's sitting dejectedly in my side yard. We decided to reuse the Rubicon Express three link truss I had been running. So we weld on the old upper control our brackets and with only a few adaptations to the bracket which bolts to the differential cover, we have that part done. So we sling the axle under the Jeep and begin to mock up the control arms. We are trying to gain a little extra wheelbase, but we find that my current upper control arms don't have enough adjustability in them. So we decide to lengthen them by about 3 inches in order to give us the length, and pinion angle we need. While were at it we also decide to put a slight bend in the arms to give the flex joint a better working angle. Once we finish up with that we will be able to get the lower control arm brackets, lower coil buckets, and shock mounts permanently mounted.
Since the H1 wheels I'm using are from a military Humvee, they have the magnesium run flats in them, which to use at low tire pressure can't rip holes in the side wall of tires. So with the help of our schools auto shop teacher, we are able to get the run flats cut off. While Jeff and Jim are working on the rear axle, Ryan and I begin to put together the wheels and tires. After adding 12 ounces of air soft pellets, which hopefully will help balance out my 115ish pound tire and wheel combination, we bolt together the inserts, drop the tire and insert onto the lower half of the wheel, and begin torquing down the top half of the wheel to 115 pounds. Even after fully torquing them down the wheels are still leaking air, so we torque more, until we don't feel comfortable torquing them anymore, and we're still leaking air. I had read somewhere that oftentimes the bias ply tires have a side wall which is too thick to fit in a standard H1 wheel and insert, the insert must be trimmed down about 1/4”. So with a cutoff wheel, we do that. We put everything back together, and lo and behold, everything airs up just fine!
With the above axle work, and 2 tires and wheels mounted, we decide to call it a day.
I know this was long-winded, and you probably didn't care that much, but now you know. So here's the pics, which is what you are really after anyway!
Mocking up the rear axle

Here you can see how my pinion angle isn't the greatest, my driveshaft right there is at full droop

This is about where the axle should be to get the right pinion angle, you can see the hole in the top of the truss where the three link should bolt into, the upper arms need to be about 3 inches longer

This shows the upper control arm brackets welded in place, and of the diff cover/axle bracket which we had to drill three new holes in to fit the pattern of the 14 bolt

From the front

Here you can see the inch or so we shaved off the bottom of the axle, we didn't do a huge shave job like some people, mainly just took off the lip

Here's Jeff cutting down the upper control arms, so we can sleeve and lengthen them


Here they are setting up the bend in the arms to help the flex joint angle

Tire mounting pics when I get more time.




 You'll be out wheeling in no time at the rate your going. Keep us posted on your fab. work.